December 31, 2020
Categories: Education & Security
New origami projects you can make with just a dollar bill.
People loved the dollar origami projects we posted to our blog last spring. The projects have continued to be so popular, we thought it was time for some new ones. Whether kids are off from school or just spending more time at home, doing dollar origami can be a welcome way to have some fun. This goes for adults, too!
To get folding, just follow the steps, using the pictures as a guide. If any project is difficult to do alone, consider doing it with a friend, sibling, parent or guardian. And to get your creativity flowing even more, we’ve also included a greeting card suggestion for each origami piece.
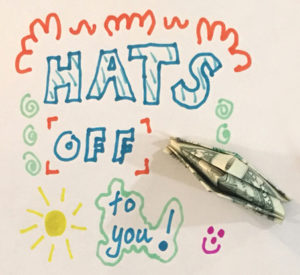
Hat’s That?
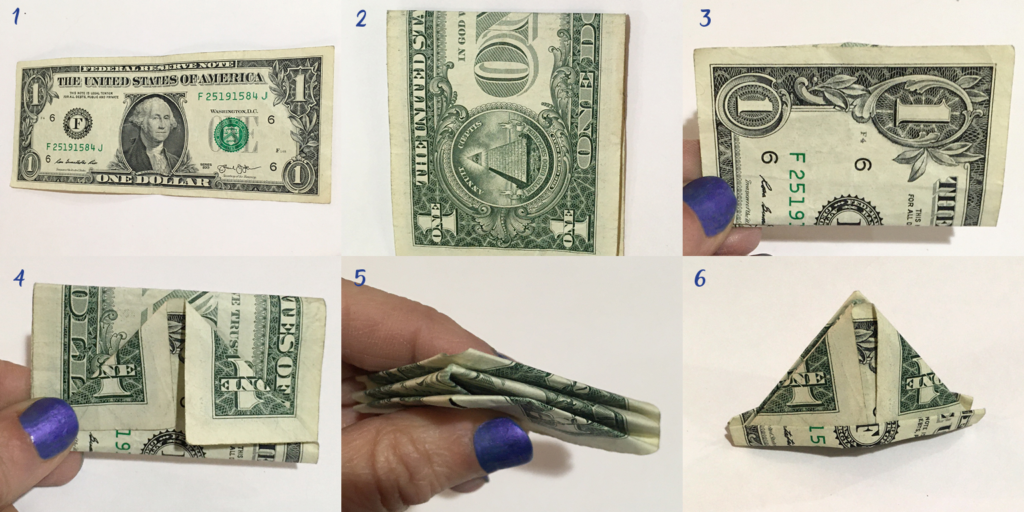
- Put the dollar face up vertically.
- Fold it in half from top to bottom.
- Fold the bottom front up. Do this on the back, too.
- Take the front layer and fold the upper corners down as triangles. Flip it over and do the same to the back layer.
- Then fold the middle layer down into triangles.
- Flip up the bottom layer a bit in both the front and back to form the hat brim. Crease and flatten everything. Now open your hat!
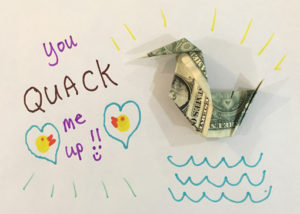
Dollar Duck

- Start with your dollar bill face up.
- Fold the bill in half as shown, then unfold.
- On the left and right sides, fold two triangles that meet at the crease
- Fold two additional triangles like an arrow on the left as shown
- Turn the dollar over.
- Fold the left side in so that the arrow point meets the triangular point on the right.
- Fold the arrow point to the left on top of George Washington’s face.
- Then fold everything in half lengthwise as shown.
- Pull the duck head up toward the left and make everything flat.
- Flip up the duck’s tail at the right.
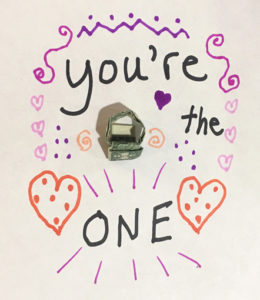
Ring in the New Year!
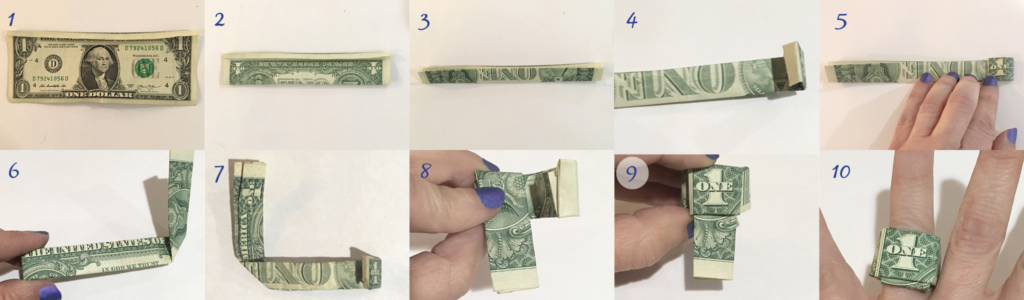
- Place your dollar bill face up. Fold down the white part at the top of the dollar to form a lip.
- Then fold the bottom up to the top and tuck under the lip.
- Now fold the bottom up to the top again, but on top of the lip.
- Fold in the white portion at the right.
- Then fold the right in again so that the number 1 is in a square shape.
- Flip the dollar over so that “The United States of America” is at the top and your “1” square is underneath at the left. Take the right edge and fold it vertically into a right angle as shown.
- Flip the dollar over so the vertical piece is at the left.
- Take the horizontal piece from the right and curve it counter-clockwise around the back and over the front of the vertical piece. Fold the vertical piece down over the horizontal piece.
- Fold the “1” square over the top of the vertical piece and tuck the white lip to the left of the 1 over.
- Curve the vertical piece back and up through the middle of the ring. You should be able to tuck the white part at the top of this piece into the “1” square, but if not, just fold it under the square. Now wear your ring!
Cynthia Kolko, The Summit Federal Credit Union